The theme you choose for your website controls the design and “look and feel”. We have more than 70 themes to choose from allowing you to find one that should meet your needs. However, there may be times when you want to edit the theme or make some visual adjustments. While you cannot edit the themes directly as they are shared across the network, you can make some CSS adjustments on your own site by using custom CSS.
What is CSS?
CSS stands for Cascading Style Sheets. It is the language used to style Web pages. Each WordPress theme has CSS that controls the styles. By using the Custom CSS plugin, you can override the theme’s styles and make adjustments to suit your needs. This is a more advanced skill requiring you to know how to edit and write CSS.
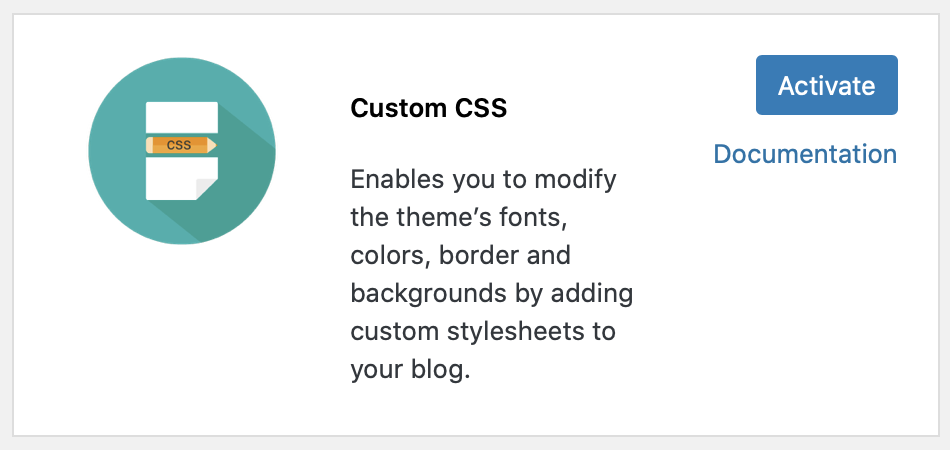
Activate the Custom CSS Plugin
The first step is to activate the Custom CSS plugin. You will need to be an administrator on the site to both activate the plugin and edit CSS.
Go to Plugins from the Dashboard.
Browse or search for Custom CSS.
Click the Activate button.
Use the Custom CSS Plugin
Once activated, Custom CSS will be available from the Appearance menu.
Don’t want to work on your site alone? Your site can have multiple administrators, editors, authors, and contributors. You can invite others to help manage your site and the content. The only requirement is that they need a UCInetID and password to log in.
Add an Existing User
Since moving to CampusPress, the method of adding new users has changed slightly. If a person already has an account on faculty.sites.uci.edu, you can quickly add them using the Add Existing User method. You can try this method first. If they don’t have an account, you will see a message letting you know “The requested user does not exist.”
(UCI Sites, sites.uci.edu, is a different network. Your users will need an account on Faculty Websites to be able to be added to your Faculty site.)
Add a New User
If they don’t have an account, there are two ways to add them.
1. Ask them to login to create an account
Ask the person or people you want to add to login to Faculty Websites. They can use the Login link at the top and log in with their UCInetID and password. This will create an account for them, but they will not yet be a member of any site. Once they have an account, simply use the Add an Existing User method. If their account was created, it will be easy to add them.
2. Invite Them
You may also use the Invite Users option under the Users admin menu. From here you can create a link that you can send to the people you want to invite. This method is more simple if you have multiple people you want to add with a specific role.
We have documented all of this in our Help Center in more detail.
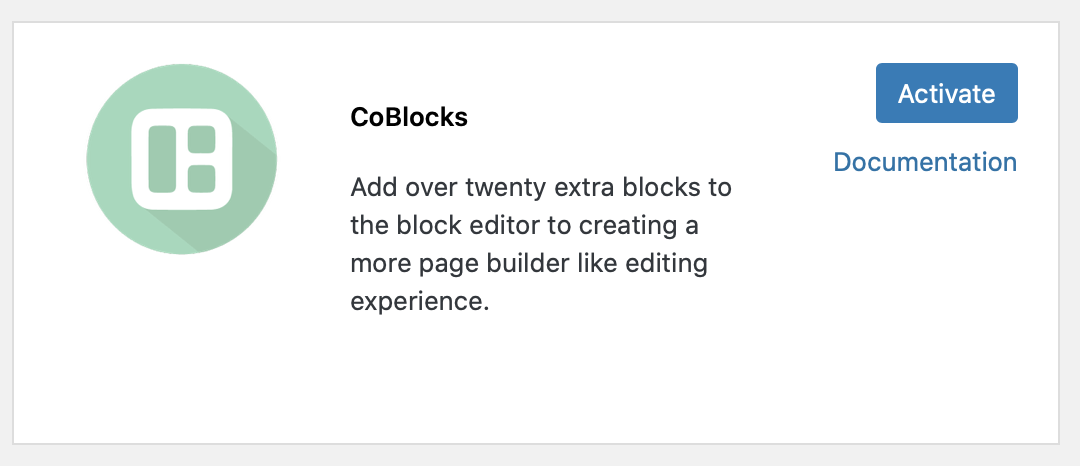
If you are using the Block Editor, which is the default on all new sites, you should try the CoBlocks plugin. CoBlocks adds over twenty extra blocks to the block editor to expand WordPress’s default page builder capabilities. (If you need more advanced page layout options, try the Divi Builder plugin which is available under the Plugins menu.)
How to activate the CoBlocks plugin.
From your WordPress dashboard, go to Plugins
Either browse or search for CoBlocks
Click Activate
You will now have twenty additional blocks available.
What’s included in CoBlocks?
Here are a few of the new blocks you can use when you have activated CoBlocks.
Accordion – add expandable/collapsible areas. Great for FAQs.
Alert – add contextual messages and style them.
Author block – add a photo and brief biography
Collage – display images in a collage gallery
Dynamic HR – add a resizable spacer in between blocks
Form – add a simple contact form
GIF – add animated gifs from Giphy
GIST – add code snippets from GitHub
Google Map – add a Google map by simply adding an address
Icon – add icons to your pages or posts
Post Carousel – display your posts or an RSS feed in a carousel
Shape Divider – add a variety of shapes to divide sections on your page
One benefit of moving our hosting to CampusPress is the wide variety of plugins available to extend the functionality of your website.
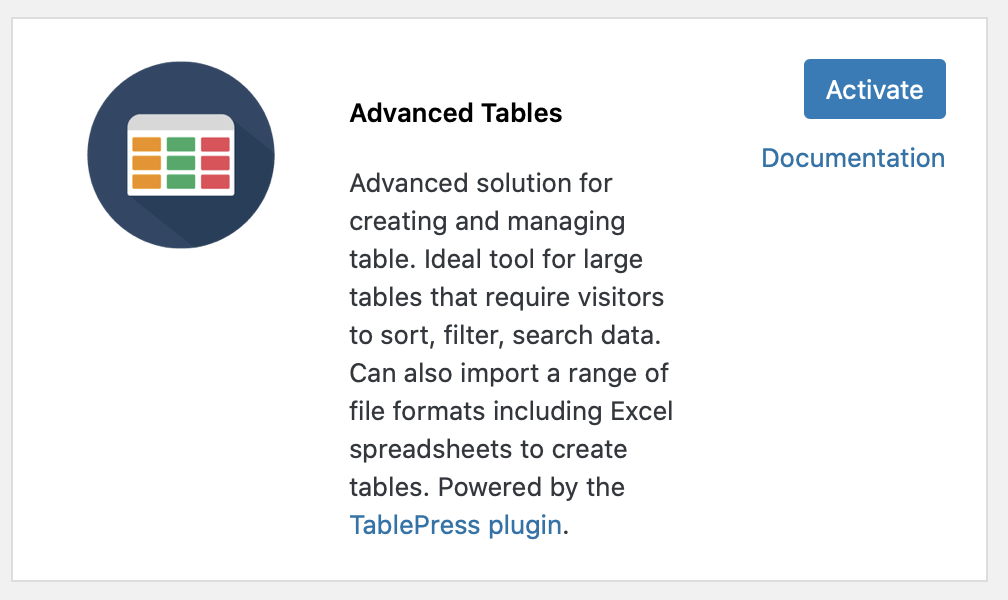
Need to add sortable, searchable tables? Try Advanced Tables. Need to share upcoming events? Try the Calendar+ Plugin. Want to add change the CSS of your site’s theme? Try Custom CSS.
We now have more than 60 plugins to help take your site to new levels. In the past, you had to request any optional plugins we had available. Now, if you have the administrator role, you can activate the plugins yourself.
To activate a plugin
Go to Plugins > All
Review the available plugins and the description. When you find one that you want to try, click Activate
If you don’t need the plugin after all, click Deactivate.
Don’t see what you need?
Contact CampusPress’s help 24/7. They will guide you to a plugin that may work for you. If you are requesting a new plugin, they may also be able to help. Any new plugins must pass their stringent code reviews to make sure they will work well on our service.
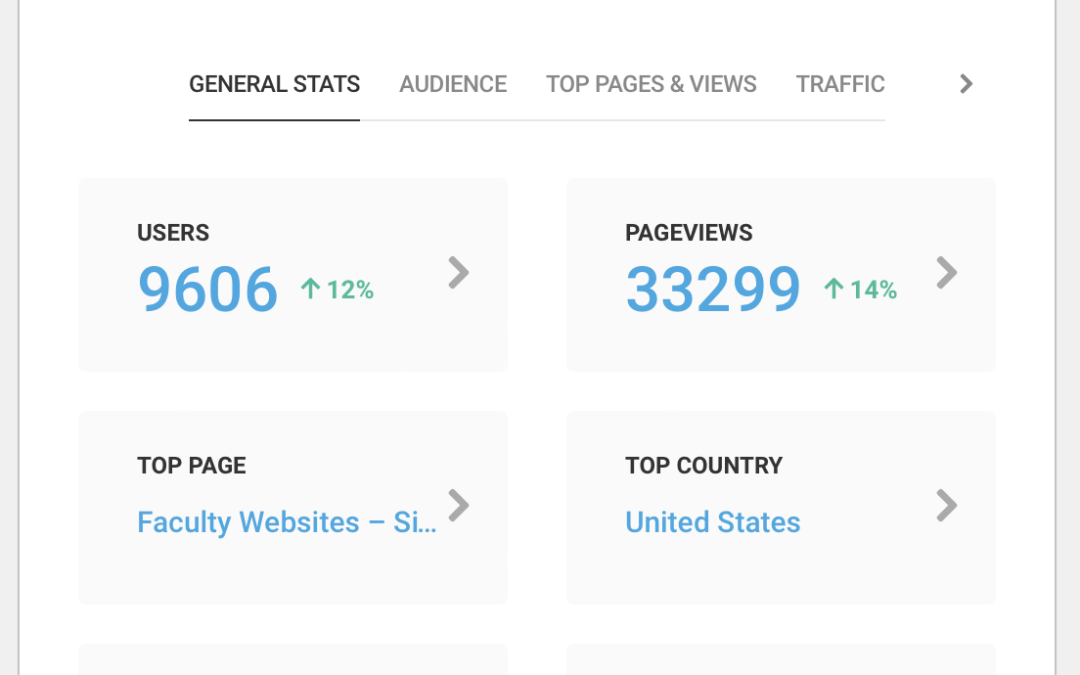
Have you ever wondered how many people are visiting your site? If your site is set to allow Search engines to crawl your site, you can see some basic analytics directly in your Dashboard. The data is pulled from Google Analytics that has been set up for all sites hosted on Faculty Websites.
Look for the Visitors panel. Generally, it is in the top right of your Dashboard. The panel will give you a high-level overview of the last 30 days. Select See all stats for a more in-depth view.
You can also look at Statistics from the Dashboard menu. Go to Dashboard > Statistics.