As of September 26, 2022, Website tracker tools are no longer allowed on UCI Health and School of Medicine websites. If you are using Jetpack, Site Stats are ON by default. Learn how to Deactivate Jetpack Site Stats. Other features of Jetpack will still be available.
As part of our Jetpack features series, learn how to enable the Related Posts feature to display contextual posts your readers may be interested in reading. Jetpack does the analysis for you to display other posts from your website or blog that are similar in content. This can help increase your site’s traffic by keeping your readers engaged.
Things to Know
You will need to activate and set up Jetpack to take advantage of this feature.
Enable Related Posts
- Go to Jetpack > Settings
- Go to the Traffic settings
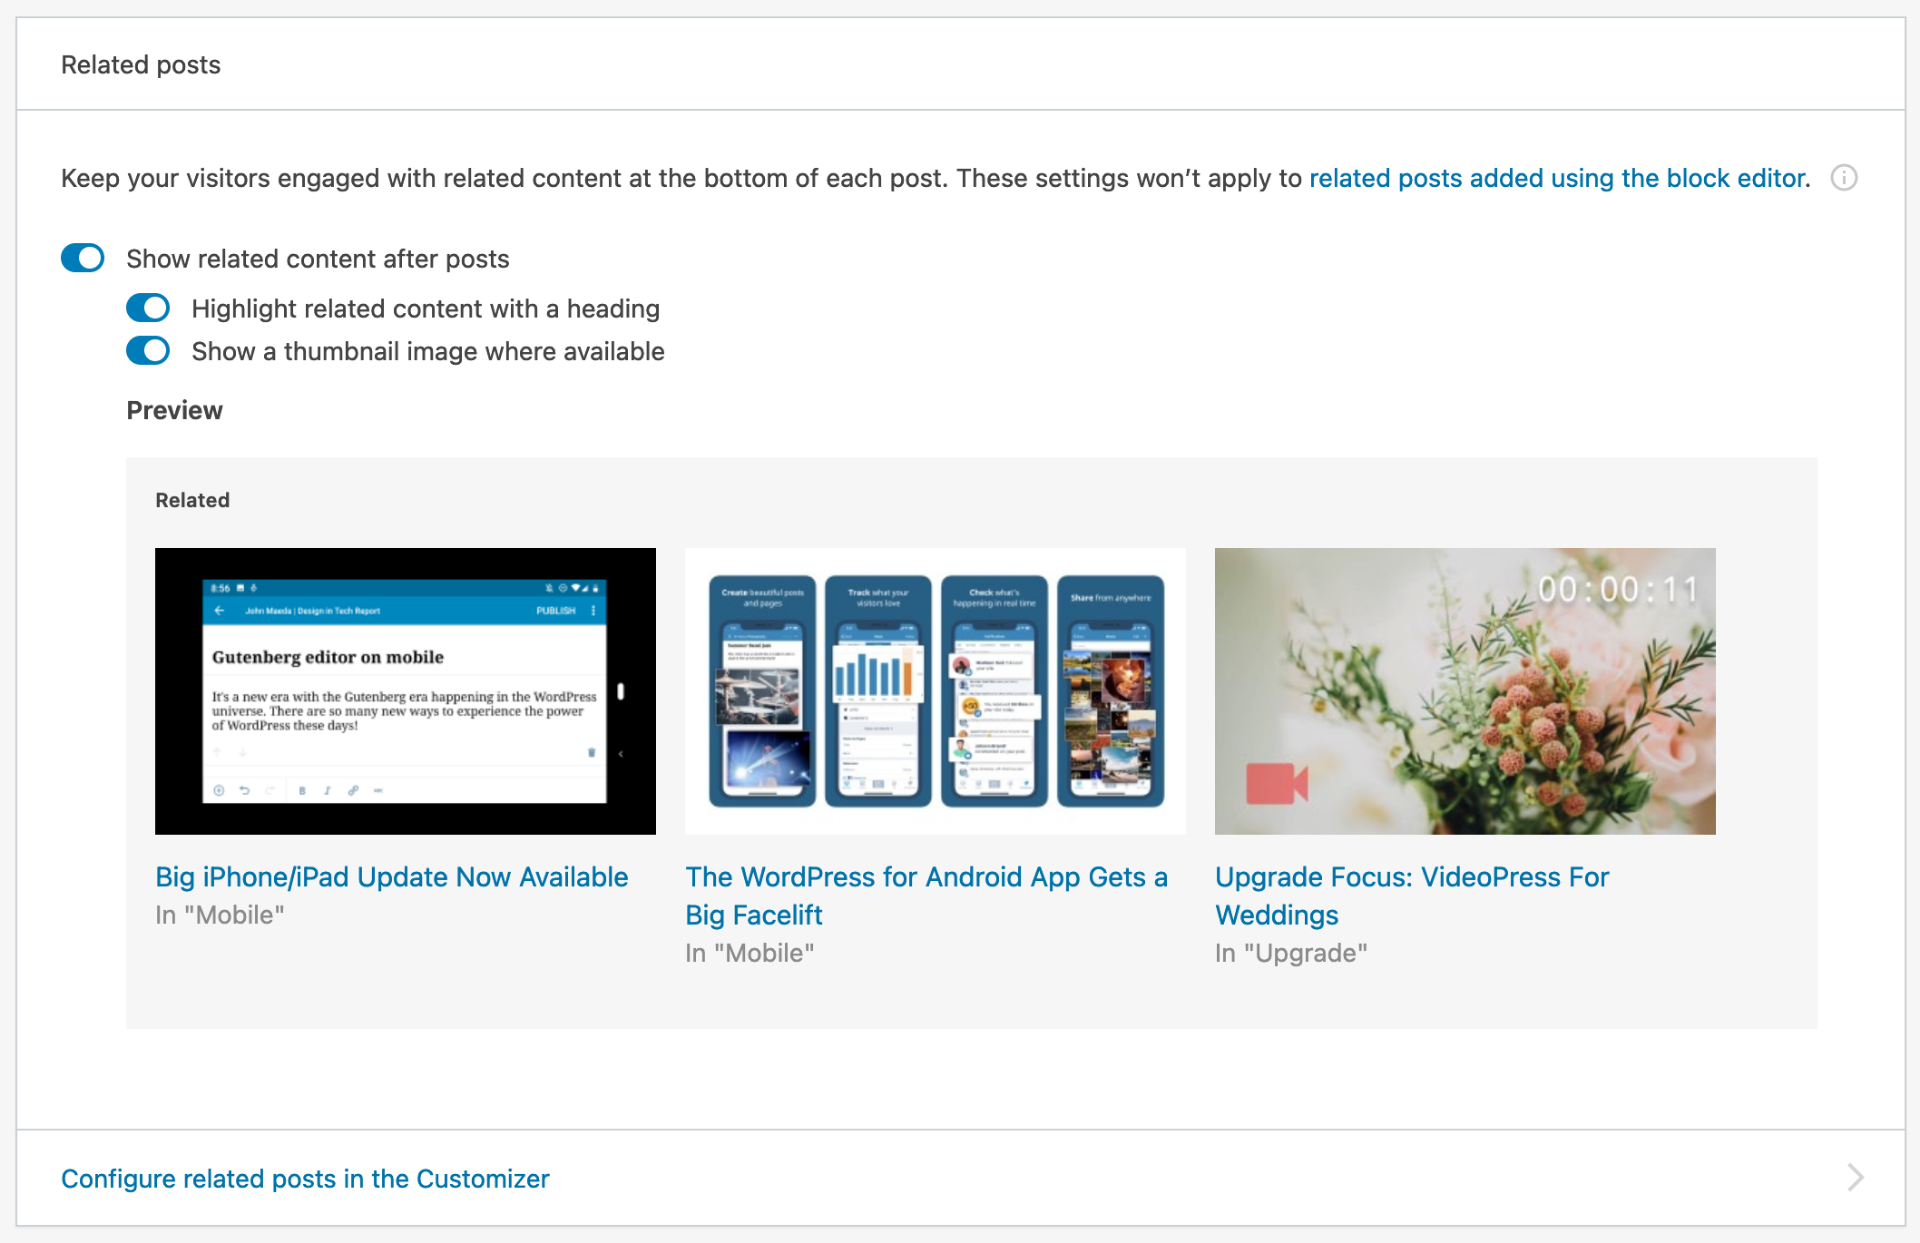
- Toggle ON “Show related content after posts” and optionally “Highlight related content with a heading” and “Show a thumbnail image where available”.

- You can also use the Customizer to adjust some of the settings. Click the “Configure related posts in the Customizer” link. There are a few more options there.
That’s it! Related posts should start appearing at the end of each post. If they do not, see the “Keep in Mind” section below.
Related Post Blocks
You also have the option of adding a Related Post Block to any post. You can only display one set of related posts per post. If you use the related post block, it will supersede the global settings. There are more settings in the block including how many posts get displayed. See below for an example of the Related Post Block.
Example of Related Posts Block
Keep in Mind
- Related content will not appear unless Jetpack can show at least 3 good results. The more posts you have, the more likely you are to see related posts appear.
- Related content is automatically generated based on the content and any categories and tags you use.
- The maximum number of related posts you can display is 6.

