

As of September 26, 2022, Website tracker tools are no longer allowed on UCI Health and School of Medicine websites. If you are using Jetpack, Site Stats are ON by default. Learn how to Deactivate Jetpack Site Stats. Other features of Jetpack will still be available.
As part of our Jetpack features series, learn how to configure widgets to only appear on certain posts or pages. By enabling this feature, you can show or hide widgets based on the criteria you choose.
Things to Know
You will need to activate and set up Jetpack to take advantage of this feature.
Enable Widget Visibility
- Go to Jetpack > Settings
- Go to the Writing area
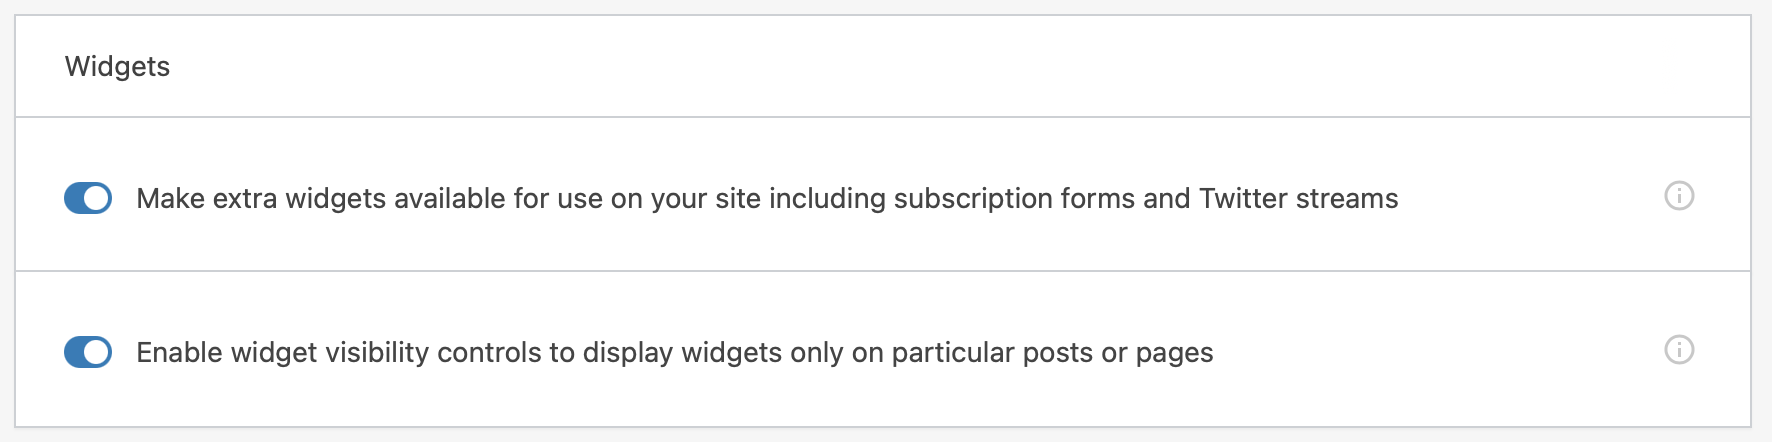
- Go to the Widgets panel and toggle ON “Enable widget visibility controls…”
Using Widget Visibility
What are some examples of when to use widget visibility?
- You want to show an author bio, but only for posts by that author.
- You want to show or hide a widget on the homepage.
- You want a widget to show for a particular post category or tag.
- You want to show a widget only for people who are logged into your site.
Visibility
Visibility is controlled by five things: page type, category (posts), tag (posts), date, and author. You can also hide widgets based on the same criteria. Each rule is handled separately.
How to use Widget Visibility
When adding or editing a widget, you should now see a button called “Visibility”.
- Add or edit an existing widget using the Customizer so you can see the changes in real-time.
- Click the Visibility button.
- Toggle Show or Hide and choose your criteria.
- For example, if I only want to show a widget on the home page (or front page), I would choose Show if Page is Front page.
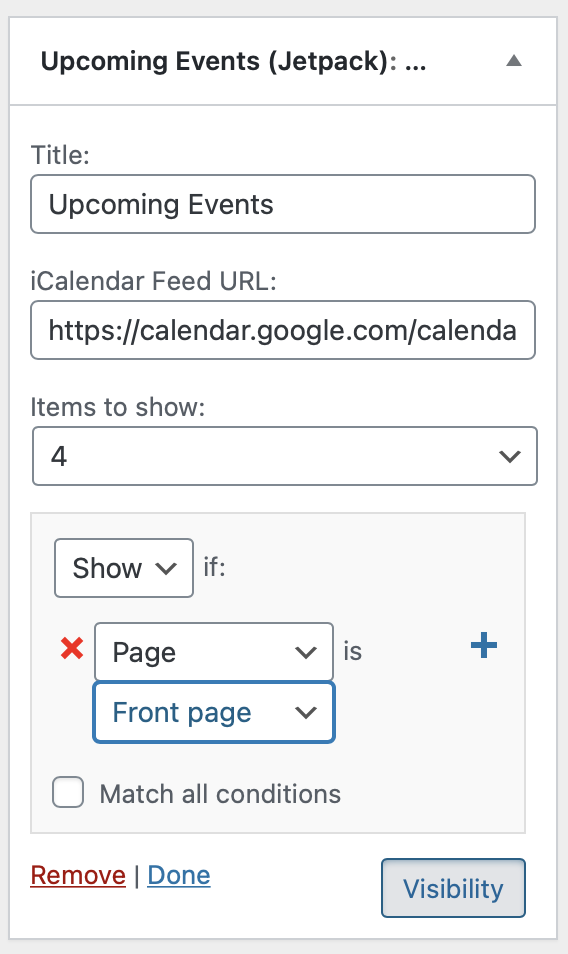
- This would only show the widget on the home page and hide it everywhere else.
- You can add more criteria by clicking the plus icon.
- When you are satisfied with the results, click the Publish button in the Customizer to save your settings.
There are a lot of variables. Try it out so you can display widgets in different parts of your website.